
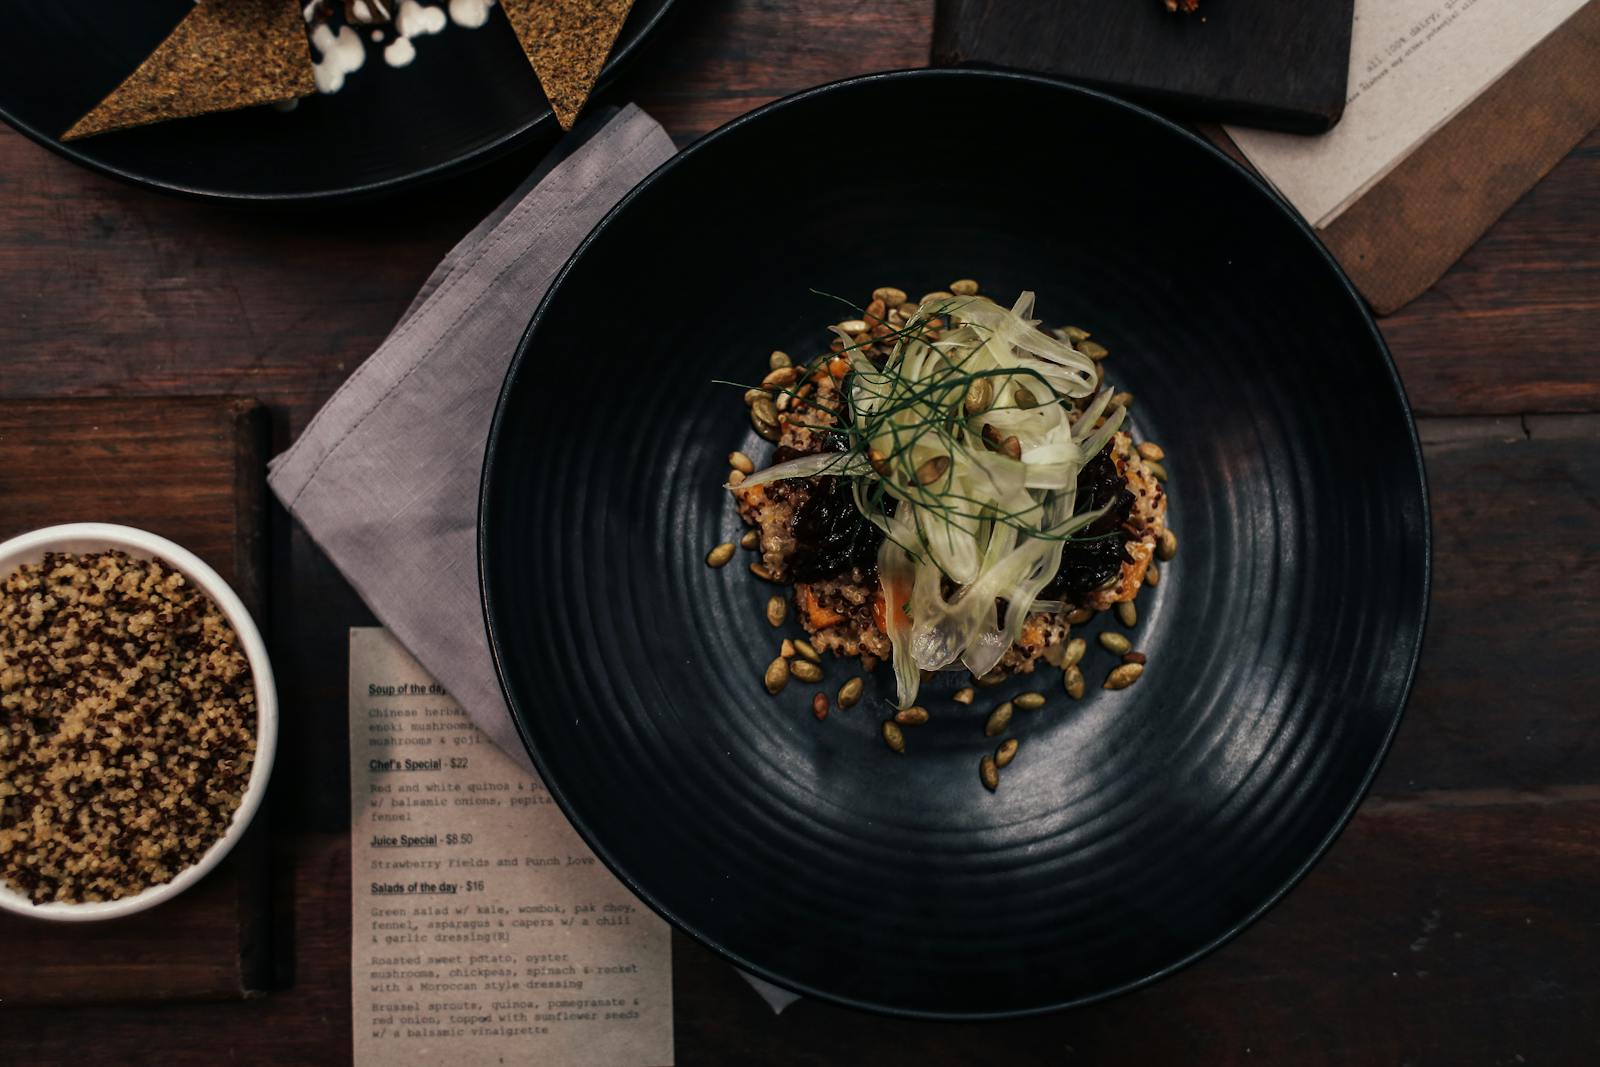
Key takeaways
- Light is the most important lever in food photography. Use daylight from the side and you are 70 per cent of the way there.
- The angle decides whether a dish makes people hungry or looks flat. Overhead for flat food, three-quarter for height, side on for layers.
- The camera comes second. A good smartphone and a window beat an expensive camera in a dark kitchen.
- Food styling is the invisible work behind every good image. Professionals often spend longer arranging the plate than pressing the shutter.
- A food photographer pays off as soon as images need to last more than six months. Menu, website, delivery platforms, advertising. Doing it yourself is fine for stories and quick posts.
1. What makes a good food photo
In the first moment, a good food photo has exactly one job: it makes you want to eat. That question comes before any discussion of megapixels, lenses or editing. Would you want to eat this?
Three qualities separate a hungry image from an indifferent one.
- One clear main angle. The eye knows immediately where to look. No jumble of half-visible plates and hands.
- Soft, directional light. Shadows draw the shape, the sauce catches a shine, the crust looks crisp. Flat ceiling light makes everything look like plastic.
- Freshness you can see. Steam, a droplet, a crumb beside the plate. Those details say: this is now, this is real, this is good.
Everything else builds on those three foundations. Skip one of them and you can shoot on a 5,000-euro camera and still get images that look like they came out of a freezer. A hard truth, but one that saves a lot of money.
2. Light: the most important lever
If you take one sentence away from this article, take this one: put the dish next to a window. In 90 per cent of cases, daylight from the side is the difference between an appetising photo and a crime scene.
Why does side light work so well? It draws the surface. Pasta gains depth, the crust of a loaf gains texture, a sauce gains the right sheen. Light from the front (the built-in flash, for instance) flattens everything. Light from above (kitchen ceiling spots) throws hard shadows straight onto the food.
What to do in practice:
- Shoot during the day, ideally between 10 in the morning and 4 in the afternoon.
- Place the dish half a metre to a metre from a window.
- In direct sun, use a thin curtain or baking paper over the window as a diffuser.
- Stand a sheet of white paper or card on the shadow side of the dish. It bounces light back and softens hard shadows.
- Avoid the built-in flash, ceiling LEDs and head torches.
If you have no daylight to work with (evening service, a windowless kitchen), use a single soft light source plus a reflector. Professionals use softboxes, but an inexpensive LED panel with a diffuser is enough to start. Never two or three artificial lights at once. That gives you a flat image with confusing double shadows.
3. Angle and composition
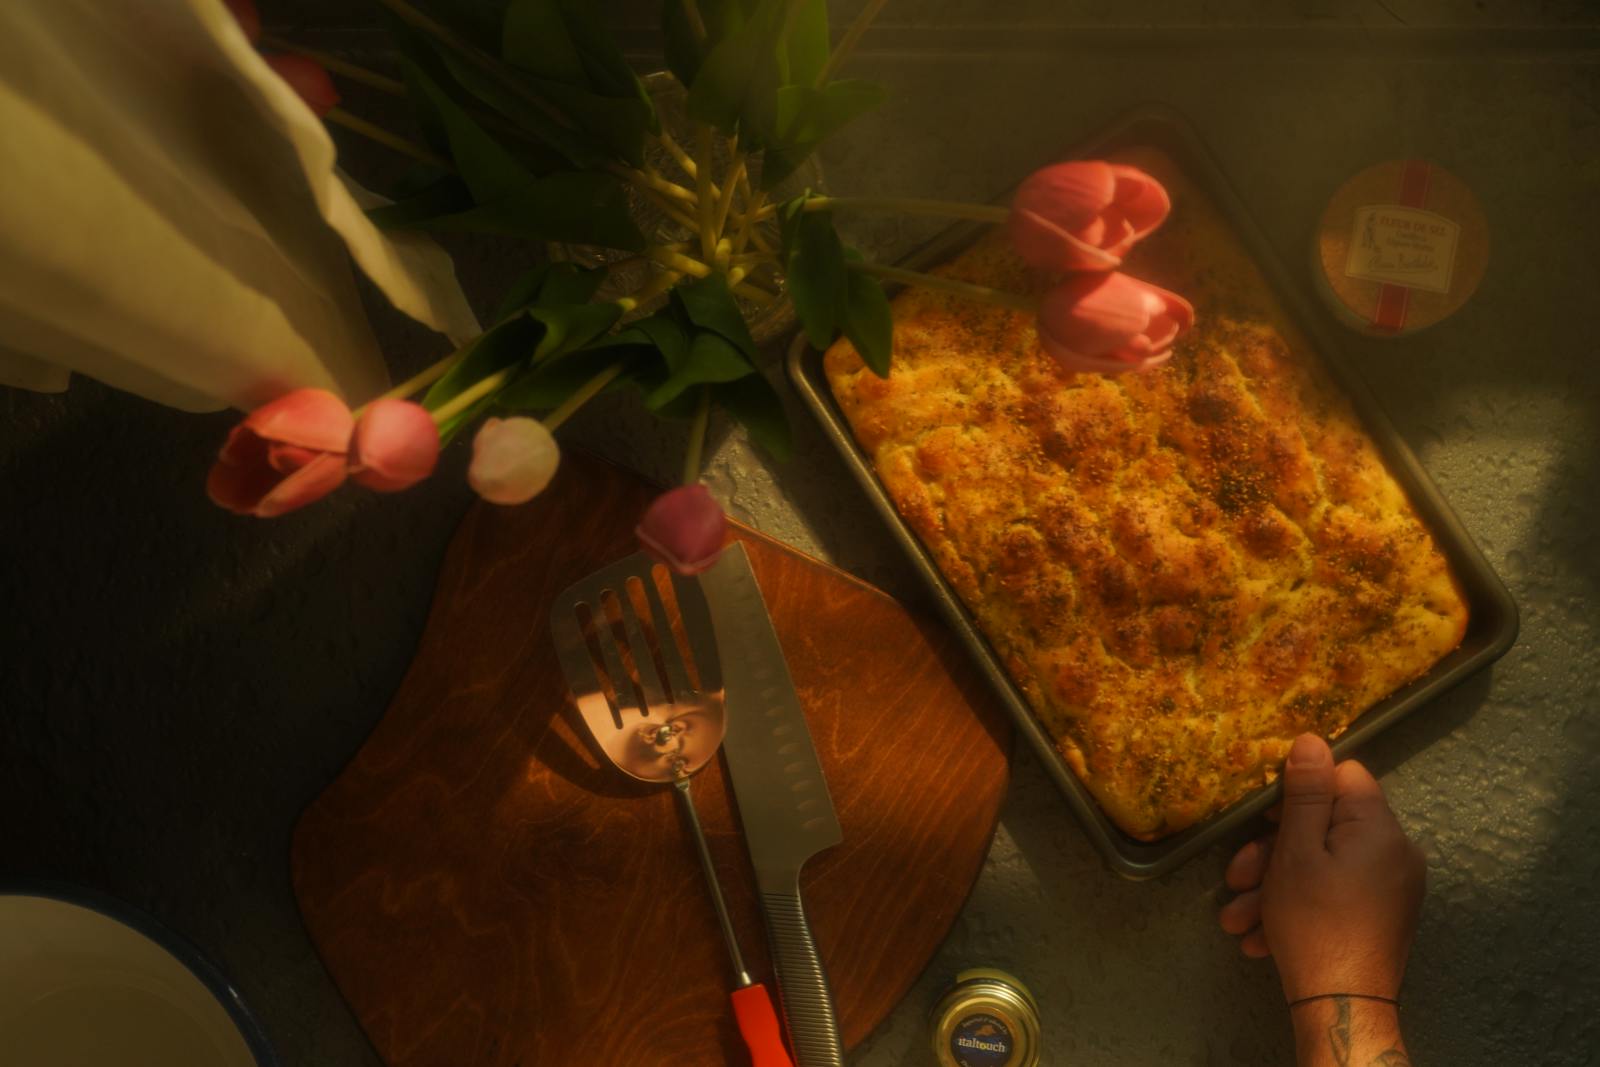
There are three main angles in food photography. Tell them apart and you are already ahead of more than half of all amateur photographers.
- 1
Overhead (90 degrees).
Straight down. Perfect for flat food: pizza, salads, soup bowls, breakfast boards. Easy to compose, because the frame reads almost like a painting.
- 2
Three-quarter (about 45 degrees).
The all-rounder. Works for most dishes with height: pasta, burgers, steaks, layer cakes. It feels natural, like the view from a seat at the table.
- 3
Side on (0 to 15 degrees).
At the dish’s eye level. Strong when there are many layers or dramatic height: a burger cross-section, layered cocktails, tall cakes, sundaes.
The most common mistake is the in-between angle, around 30 degrees. It suits almost nothing and looks accidental. If you are unsure, deliberately pick one of the three above and stay with it.
One simple trick for composition: put the main subject not in the centre but along the imaginary third lines. The principle is called the rule of thirds and comes straight from painting. Most smartphones will show a grid if you ask them to. Turn it on and use it.
4. Food styling: the invisible work
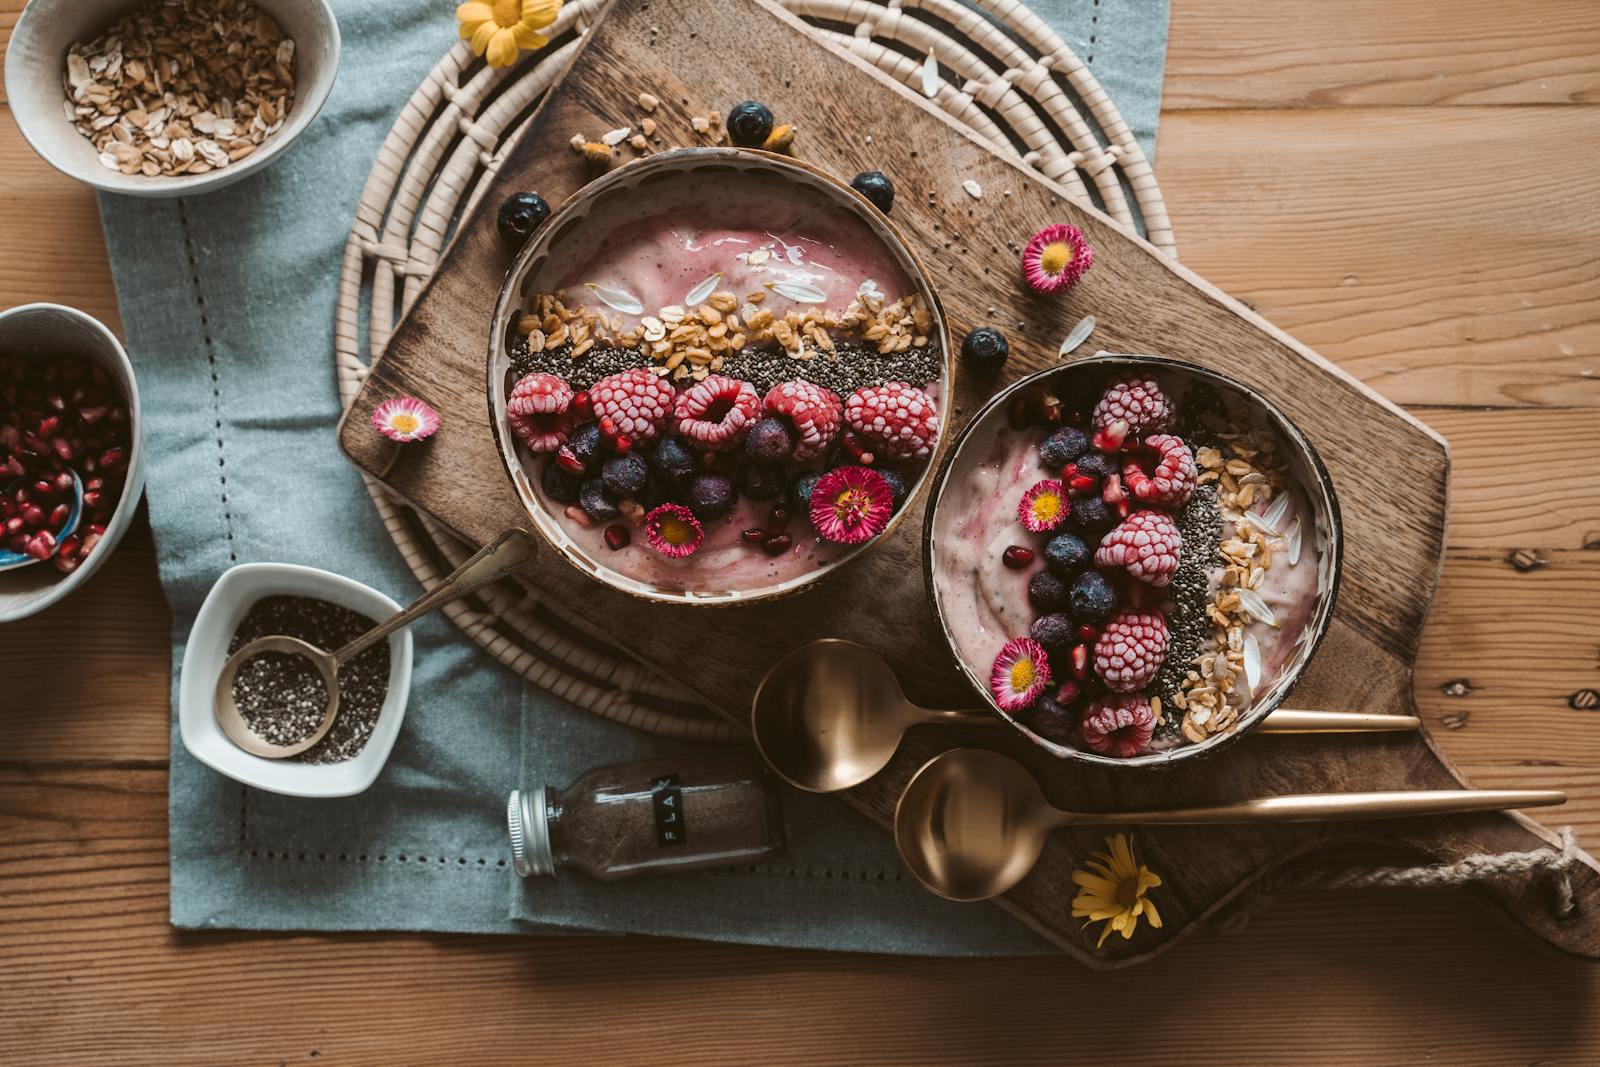
Behind every good food photo there is more work on the plate than behind the camera. Food styling sounds like a glossy production, but at heart it is a handful of rules. Here are the important ones.
- Show freshness: a few drops of water on a salad, a touch of olive oil on bread, food photographed while it is still steaming.
- Build height: a dish almost always looks better when it has a high point. Drape salad loosely, twist pasta up in the middle, spoon sauce beside rather than over.
- Set up contrast: a pale dish on a dark plate, a dark dish on a pale surface. Make both pale or both dark and you lose the shape.
- Crumbs are your friends: a few scattered crumbs, herbs or salt flakes beside the plate signal authenticity. Too perfect looks sterile.
- Show the better side: every dish has one. Turn the plate before you press the shutter. It is worth it.
Professionals use particular tricks: water with glycerine for droplets that stay glossy, or cotton wool under a burger bun for extra height. You do not need to know all of it, but it explains why advertising images of burgers rarely look exactly like the real product. If you want the image to feel honest, leave those tricks out.
5. Surfaces and props
The surface sets the mood of the image. Three styles cover 95 per cent of all food photos.
- Rustic: dark wood, old boards, linen. Suits hearty food, soups, pasta, bread.
- Modern: marble, concrete, plain white. Suits patisserie, Asian food, lighter dishes.
- Dark: slate, a dark tabletop, a muted background. Suits meat, chocolate, cocktails.
Props should support the lead actor, not steal the scene. A glass of wine beside the steak: good. Two vases, three candles and an old book: too much. Rule of thumb: no more than three secondary elements per image, and only one of them sharper than the rest.
If you shoot regularly, you slowly build a small collection: one dark wooden board, one marble slab, two plain linen napkins, three matt plates in neutral colours. You rarely need more. More distracts.
6. Kit: what you actually need
An honest answer: considerably less than the photography industry would like to sell you. For good food photos in a restaurant, café or bakery, one of the following setups is enough.
Minimal setup
Smartphone and a window
- A smartphone built after 2022
- A window with daylight
- White card as a reflector
- Optional: a mini tripod for overhead shots
Enough for: Instagram, Stories, quick Google Business posts.
Mid-level setup
Mirrorless with one lens
- An APS-C or full-frame camera
- A 50 mm or 85 mm prime lens
- A tripod, shutter release via app
- A reflector and a small diffuser
Enough for: website hero images, menus, advertising, delivery platforms.
7. Camera settings without the jargon
If you work with a proper camera, there are three things to understand. No more than that.
- Aperture. Controls how much of the frame is sharp. For food: f/4 to f/8. Wider (f/2.8, say) gives you too little sharpness, narrower (f/11) makes the background uncomfortably sharp.
- ISO. Controls sensitivity. Keep it low (100 to 400) so the image stays clean. From ISO 1600 upwards it starts to look grainy.
- White balance. Makes sure white is actually white. Set it to “daylight” rather than automatic, otherwise the colour shifts from frame to frame.
If you use a smartphone, ignore this section and concentrate on light and angle. Modern phones usually get the settings right on their own.
8. The most common mistakes
Seven slips we see in every second restaurant account. Avoid them and you are visibly better than the majority straight away.
- Built-in flash switched on. Turns sauce into varnish and food into plastic.
- Shooting handheld with nothing to rest on. Blurred, crooked, tired.
- Cropping too tight. Makes the dish look squeezed. Give it air.
- Filter on filter. Blaring oranges, oversaturated greens, a yellow haze. Kills any credibility.
- The wrong order: eating first, photographing second. After three bites, food looks different.
- Smears in the background. A dirty counter, crumbs, a bottle of washing-up liquid. A clean stage is not optional.
- Too many photos of the same dish in the feed. Three variations are enough, the rest is repetition.
9. Why experience and editing make the difference
A camera does not make anyone a photographer. Food photography is a craft that takes years. How light breaks on a sauce, when a soup stops steaming, which composition suits which plate, how much glycerine a salad leaf can take before it looks false. None of that is in a tutorial. You learn it across a thousand shutter presses.
The second stage, often underestimated: editing after the shoot. A good photo comes out of the camera already usable. A photo that sells is made in Lightroom or Capture One: calibrating colours, evening out tones, fine-tuning contrast, retouching distractions, holding the brand’s look. Professionals put between five and twenty-five minutes per image into that stage. Skip it and you leave 30 to 50 per cent of the effect on the table.
Three seconds, then the attention is gone
On Instagram, TikTok, Facebook and Google Business, the first three seconds decide whether an image is seen or swiped away. Three seconds for an impression that has to trigger hunger, build trust and set your venue apart from a dozen others at the same time. Phone snapshots fail at that task systematically. They are not necessarily bad, they are just not professional enough to convince in that short a window.
Guests today expect more than good taste. They expect a visual promise before they set foot in the room. When the photos online look worse than the food tastes, two things go wrong at once: you lose new customers who never book, and you let yourself down, because you know your plate can do more than the photo shows.
Your competitors raise the bar
Ten years ago, decent phone photos were enough. Today a third of your direct competitors in the same neighbourhood post professionally produced content: edited reels, designed stories, cleanly retouched menu images. Shoot handheld on a smartphone against that and you do not stand out neutrally, you stand out below them. It is not fair, but it is the reality in which guests decide online today.
Every platform needs its own format
One image is rarely enough. A single shot now becomes at least four to six versions, depending on the platform.
- Landscape 16:9 for the website hero, Google Business and delivery platforms.
- Square 1:1 for the Instagram feed.
- Vertical 9:16 for Reels, Stories and TikTok.
- Pinterest format 2:3 for seasonal menus and recipe extracts.
- A menu crop with no hard shadows at the edge.
Preparing those is more than cropping. Composition, the weight of the light and the space left for text have to work in each format. Do it yourself and you lose three to five hours per shoot with no guarantee the result convinces. Have it done professionally and it comes as standard.
What vollbelegt. takes on
We come to you, photograph your food, your rooms and your team with our own kit, handle the editing in one consistent look, and deliver every shot in all the relevant platform formats. You get 30 to 80 finished images per shoot, ready for Google Business, Instagram, Reels, Stories, delivery platforms, your website and your menu. While we do that, your kitchen stays focused on what it does best.
10. Professional or smartphone: what suits when
An honest recommendation. It does not depend on whether you own a good camera, but on how long the images have to live and what they have to achieve.
A smartphone can be enough for:
- Short-lived 24-hour stories with no advertising pressure.
- WhatsApp updates to regulars you know personally.
- Internal documentation and notes for menu upkeep.
- Quick background clips for stories, when the core imagery is already professional.
As soon as a piece of content competes against other venues in a feed or runs as a paid ad, though, phone quality is almost always the wrong lever. The reach is there, the effect is not.
A food photographer is worth it for:
- Menus and printed material that stay in use for a year.
- Website hero images and delivery platforms (Deliveroo, Uber Eats, Wolt). Here the images decide the order rate directly.
- Advertising, where every detail counts.
- Seasonal menus, once a quarter, with a half-day or full-day shoot.
- An opening or reopening, when the first impression has to land from the first second.
The maths is simple. A day with a food photographer costs 800 to 1,500 euros and delivers 30 to 80 images that run for twelve months across every channel. That works out at well under 30 euros per image. Under 130 euros a month. Trying to reach that level yourself over the same period means the same sum in equipment plus a double-digit number of hours. Sometimes that pays off. Often it does not.
If you cannot find a suitable portfolio locally, do not settle for the nearest option just because it is nearby. At vollbelegt. we work across Germany with no travel costs, bring our own kit and shoot during service or between the rushes. You get images that fit your brand, without rearranging the place a day in advance.
11. Frequently asked questions
What actually makes a good food photo?
Three things come first: soft, directional light, one clear main angle (overhead, three-quarter or side on) and an image that makes you hungry in the first moment. Everything else (props, surfaces, editing) reinforces those foundations, it does not replace them.
Is a smartphone enough for food photos, or do I need a camera?
For Instagram, Google Business and your menu, a smartphone built after 2022 is enough as long as the light is right. For printed menus, advertising, delivery platforms and website hero images, a mirrorless or DSLR with a fast lens is noticeably more convincing. The difference is not sharpness, it is depth and how the food itself is rendered.
What is the best light for food photography?
Indirect daylight from the side. A window with a thin curtain or diffuser, with the dish half a metre to a metre away from it. Direct midday sun is harsh, and artificial ceiling light makes food look flat and grey.
What does a professional food shoot cost?
Half a day with an experienced food photographer costs 500 to 900 euros. A full day including food styling and editing costs 1,200 to 2,500 euros. You get 30 to 80 finished images that run for twelve months across your menu, website, Google Business and social media.
When is a food photographer worth it, and when not?
Worth it when you are printing a menu, building a new website, wanting visibility on delivery platforms or running ads. Not worth it when you post to Instagram only occasionally and have good daylight and a steady hand. An honest assessment is the first step, not a photo shoot.
What is the difference between a food photographer and a restaurant photographer?
A food photographer focuses on the individual dish, cleanly staged, often in a studio or on a set. A restaurant photographer also captures rooms, team, mood and guests. In practice many photographers do both, with different emphases depending on the brief.